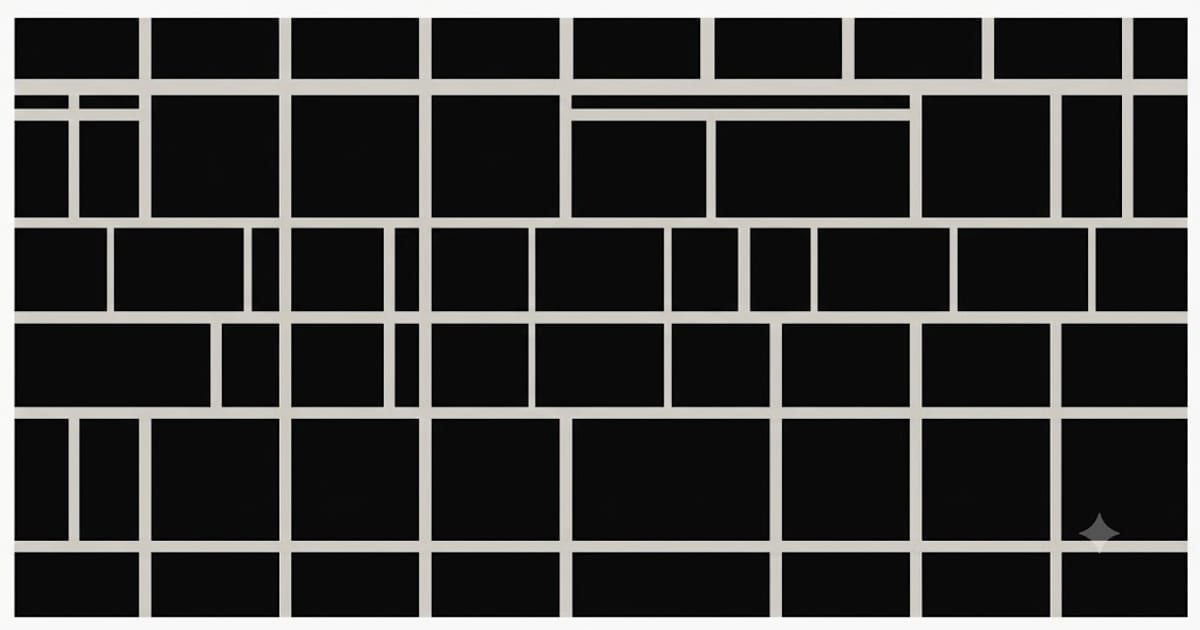
The coverage figure printed on a bag of grout is real, but it is answering a question you did not ask. It assumes a tile size, a joint width and a tile thickness — usually something like 12 × 12 inches with a 1/8 inch joint — and if any of those three differ from your job, the number is wrong. Sometimes it is wrong by a factor of three.
The geometry underneath is exact and takes one line. Once you have it, every bag on the shelf becomes readable.
The formula
For rectangular tiles laid in a regular grid, the volume of grout in the joints per square foot of floor is:
144 × (L + W) ÷ (L × W) × J × D
where L and W are the tile length and width in inches, J is the joint width in inches, D is the joint depth in inches, and the answer comes out in cubic inches per square foot.
Where it comes from: each tile is surrounded by joints, but every joint is shared with the neighbour on the other side. So each tile owns half its perimeter, which is (L + W) inches of joint. Multiply by the joint's cross-section, J × D, to get the grout volume belonging to one tile. Divide by that tile's face area, L × W, to get volume per square inch, and multiply by 144 to reach a square foot.
Joint depth D is the tile thickness, not the joint width — a common and expensive confusion. A grout joint is a slot as deep as the tile is thick, and it has to be filled to the bottom.
The table
Grout volume in cubic inches per 100 square feet, for tile 5/16″ (0.3125″) thick — a typical porcelain thickness:
| Tile size | 1/16″ joint | 1/8″ joint | 3/16″ joint | 1/4″ joint |
|---|---|---|---|---|
| 3 × 6″ subway | 141 | 281 | 422 | 562 |
| 4 × 4″ | 141 | 281 | 422 | 562 |
| 6 × 6″ | 94 | 188 | 281 | 375 |
| 12 × 12″ | 47 | 94 | 141 | 188 |
| 12 × 24″ | 35 | 70 | 105 | 141 |
| 24 × 24″ | 23 | 47 | 70 | 94 |
| 6 × 36″ plank | 55 | 109 | 164 | 219 |
To convert to bags: divide by the volume yield your manufacturer publishes for that specific product. Yields differ between sanded, unsanded and epoxy grouts from the same brand, so use the bag in your hand rather than a remembered figure. TCNA publishes the installation standards these products are formulated against, and manufacturers such as Custom Building Products and Laticrete publish per-product coverage in their technical data sheets.
The scaling rule, which is the useful part
Look down the columns rather than across the rows. Taking 12 × 12 tile as the baseline:
| Tile size | Grout relative to 12 × 12 |
|---|---|
| 3 × 6″ subway | 3.00× |
| 4 × 4″ | 3.00× |
| 6 × 6″ | 2.00× |
| 6 × 36″ plank | 1.17× |
| 12 × 12″ | 1.00× |
| 12 × 24″ | 0.75× |
| 24 × 24″ | 0.50× |
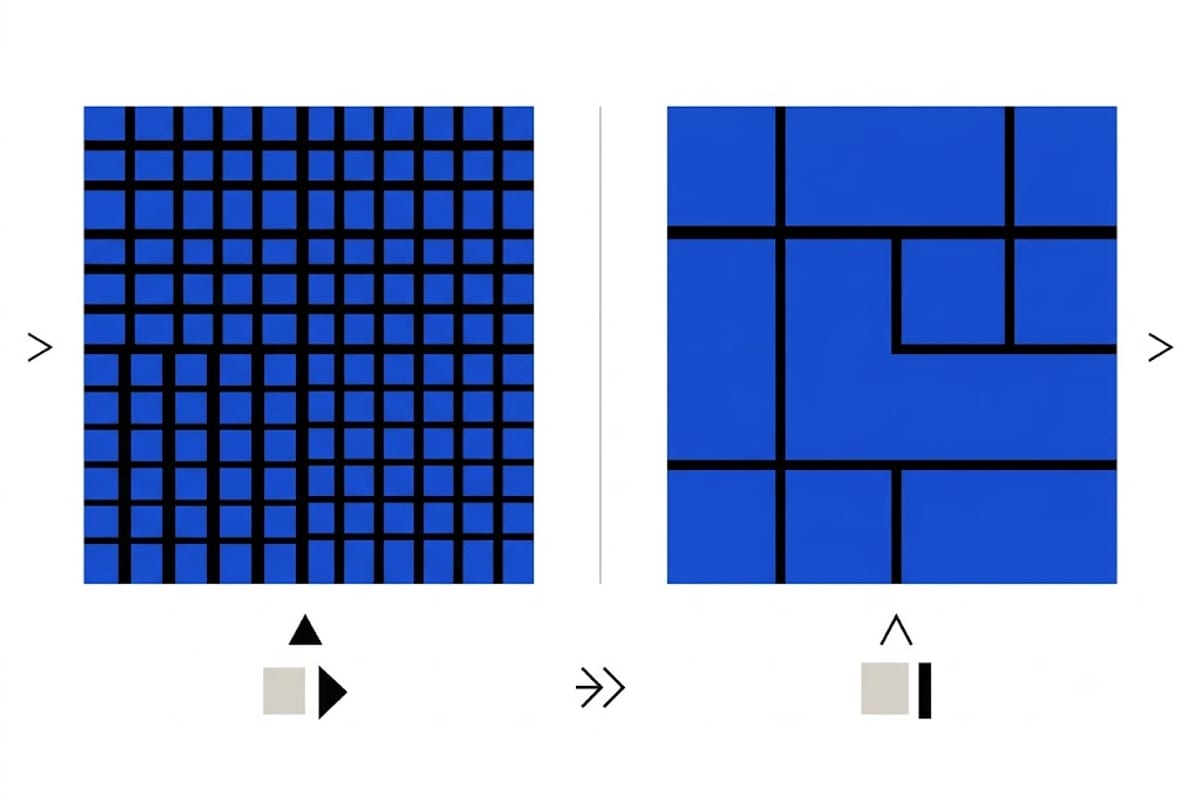
Subway tile needs three times the grout of a 12-inch square over the same floor area, at the same joint width. That is not a rule of thumb, it falls straight out of the (L + W) ÷ (L × W) term: halve the tile dimensions and you double the joint length per square foot.
Three consequences people meet the hard way:
- A backsplash in 3 × 6 subway and a floor in 12 × 12, both 40 square feet, are not the same grout order. The backsplash needs three times as much.
- Switching from 12 × 12 to 12 × 24 partway through planning cuts your grout by a quarter. Switching to 24 × 24 halves it.
- Joint width scales the whole thing linearly. Going from 1/8″ to 1/4″ doubles the grout, whatever the tile.
Depth is where the real errors live
The two dimensions people get wrong are depth and thickness, and both push the same way — you need more than you thought.
Thicker tile, more grout. The table above is for 5/16″ tile. Natural stone at 1/2″ thick needs 60 % more grout than the same layout in 5/16″ porcelain, because the joint is a deeper slot. Large-format porcelain at 3/8″ needs 20 % more. Scale the table linearly by the ratio of thicknesses.
Partial fill is not filling. A joint packed only at the surface looks finished on day one and fails later, because the void underneath collects water and gives the grout no support. Grout has to be worked into the full depth of the joint.
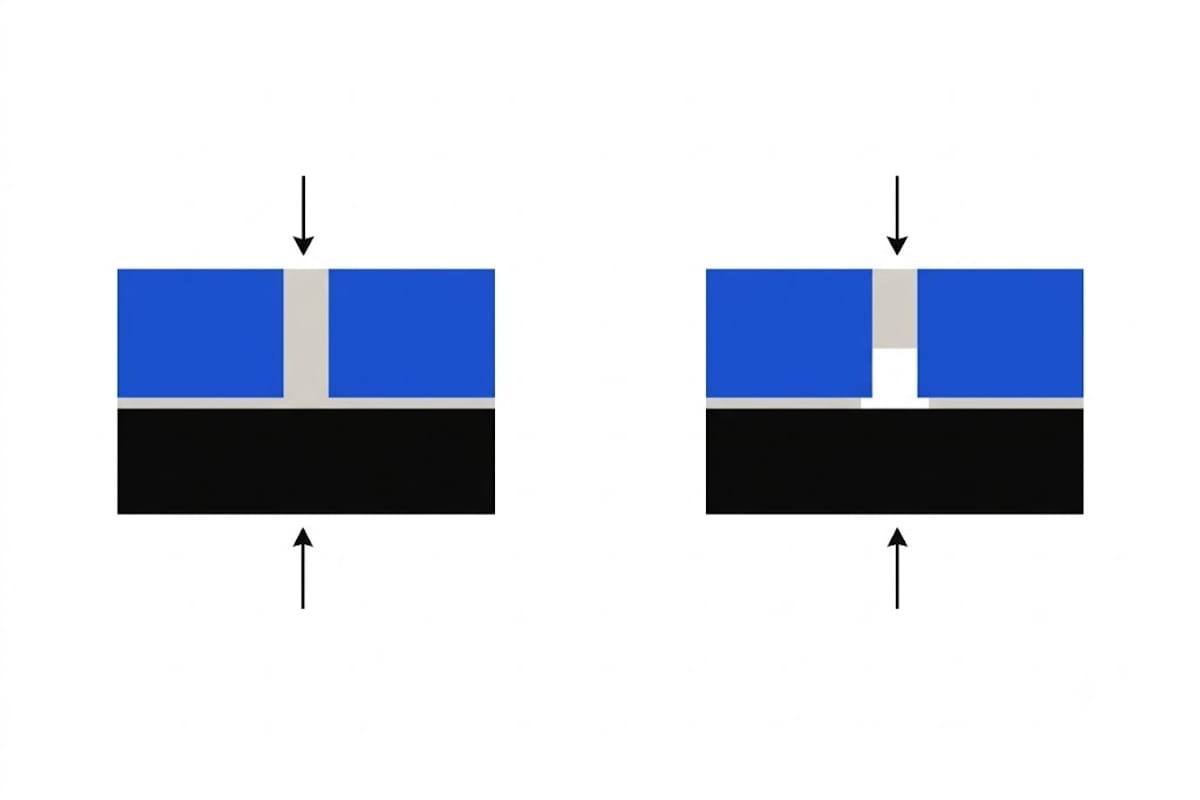
Uneven adhesive steals volume. If the adhesive bed rises unevenly between tiles, some joints are shallower than the tile thickness and some are deeper. The deep ones drink more grout than the table predicts, and there is no way to know how many you have until you are mixing the last batch.
What to add on top
The geometric figure is a floor. Real jobs consume more:
- 10 % for ordinary waste — what stays in the bucket, on the float, in the sponge water, and what goes off before you reach it.
- 15 % or more for small-format tile — more joints means more surface area for grout to cling to during clean-up, and the clean-up is where a surprising fraction of it ends up.
- A full extra bag when colour matters. Grout colour varies between manufacturing lots, and a joint filled from a different lot months later will not match. If the job is visible, buy the whole quantity at once and buy one bag more than you need.
Worked example
A 60 sq ft bathroom floor in 12 × 24″ porcelain, 3/8″ thick, with 1/8″ joints:
- From the table: 12 × 24 at 1/8″ is 70 cubic inches per 100 sq ft — but that is for 5/16″ tile.
- Thickness correction: 0.375 ÷ 0.3125 = 1.2, so 70 × 1.2 = 84 cubic inches per 100 sq ft.
- Scale to the job: 84 × 0.60 = 50 cubic inches of grout.
- Waste: add 10 % → 55 cubic inches.
- Convert to bags: divide by the yield printed on the product you are buying, then round up to a whole bag. You will almost certainly be buying one bag with a lot left over — which is normal, and worth keeping sealed for repairs.
What this page does not cover
- Epoxy grouts behave differently, cost several times as much per unit volume, and have working times measured in minutes rather than hours. The geometry is identical; the economics of over-ordering are not.
- Irregular and mosaic layouts need their joint length measured rather than derived — sheet-mounted mosaics in particular have joints inside each sheet as well as between sheets.
- Herringbone, basketweave and other patterns have the same joint length per square foot as a straight grid of the same tile, but a much higher cut waste on the tile itself.
- Thinset coverage is a separate calculation driven by trowel notch size, not by joint geometry.
The number on the bag is not wrong. It is just answering a question about somebody else's tile.
Read next
- What a 25 lb Bag of Grout Actually Covers — A bag's coverage figure is real.
- Grout for Subway Tile: Three Times the 12-Inch Figure — Subway tile is the highest grout consumption per square foot of any common format.
- Grout for 12 × 24 Tile: Why the Big Format Uses Less — Large format tile is the one place where the bigger product costs you less of something.
- Sanded or Unsanded: The Joint Width That Decides It — The dividing line is 1/8 inch and it is not a style guideline.